
Revamp Your Drive: The Easy Guide to Laying a Resin Driveway
- Dec 16, 2025
- 2 min read
Looking to give your home's exterior a significant upgrade?
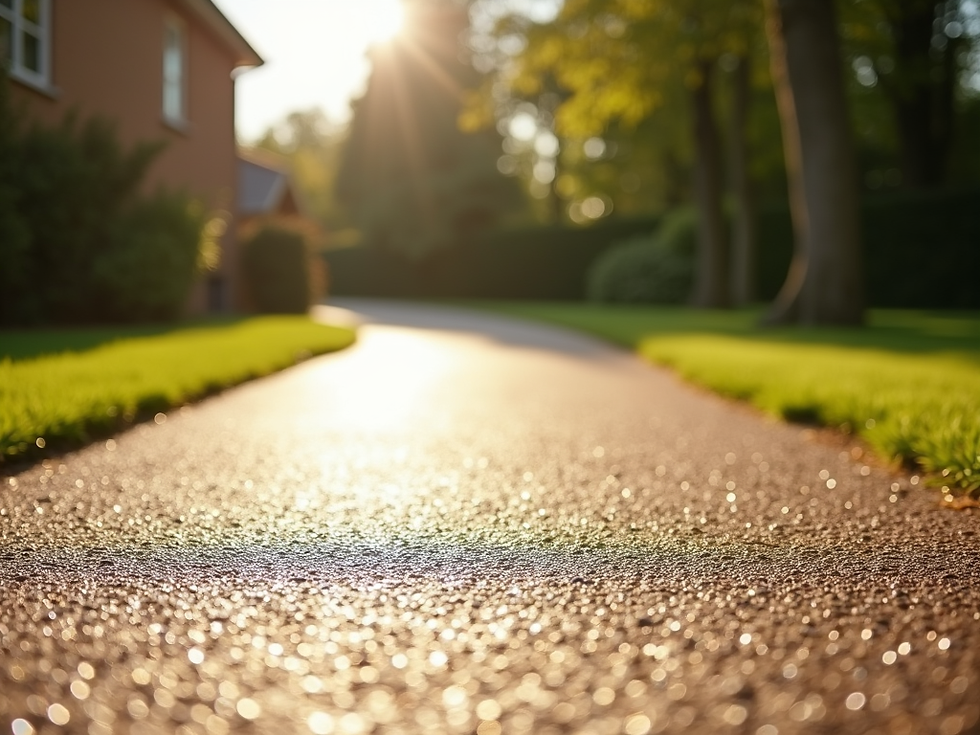
A resin-bound driveway offers a sleek, durable, and highly attractive solution.
At resco.ie, we know that knowing the process helps you appreciate the final result!
Here’s a quick, sweet guide on how a stunning resin driveway is laid, step-by-step:
1. The Essential Foundation (The Key to Longevity)
The quality of your finished driveway depends heavily on what's underneath. Resin systems are only as strong as their base!
Preparation: The existing surface (like concrete or tarmac) is thoroughly cleaned, repaired, and made level. If a new base is needed, a permeable sub-base (often porous asphalt) is laid and compacted to ensure excellent drainage.
Edge Work: Steel, aluminium, or brick edging is installed around the perimeter. This contains the resin mixture and gives the driveway a clean, sharp finish.
2. The Resin Mixture (Creating the Magic)
This is where the "bound" magic happens.
Blending: A high-quality, two-part resin (the binding agent) is carefully mixed with the chosen natural aggregate stones (e.g., quartz, granite). Precision is key to ensure the perfect, consistent bond.
The Mix: Unlike resin bonded systems where stones are sprinkled on top, in a resin bound system, every single stone is fully encapsulated in resin.
3. Laying and Finishing (The Art of the Driveway)
The crew works quickly and skilfully, as the resin has a limited working time before it starts to cure.
Spreading: The resin/stone mixture is poured onto the prepared base and immediately spread evenly across the surface using specialised screeding tools.
Compaction: The surface is then lightly floated or rolled. This ensures the mixture is tightly compacted and level, removing any air pockets and creating a smooth, flat surface.
Detailing: The edges and corners are meticulously finished by hand for a professional look.
4. Curing Time (Patience is a Virtue)
Once laid, the driveway needs time to harden.
Drying: Depending on the temperature and humidity, the driveway is left to cure.
Walk On/Drive On: It’s usually ready to walk on within 4-6 hours and ready for vehicle traffic within 24-48 hours.


Comments